
Getting Started
Your first mock in 5 minutes
No config files needed. You will install the CLI, open the UI, create a mock, and hit it with a real HTTP request.
1. Install the CLI
You need Node.js 20.19 or newer. Install the CLI globally with npm:
2. Start Mocko
A folder argument is optional. Use mocko ./ if you also want to load file mocks from the current directory. Without a folder, Mocko starts with no pre-loaded file mocks.
3. Open the UI
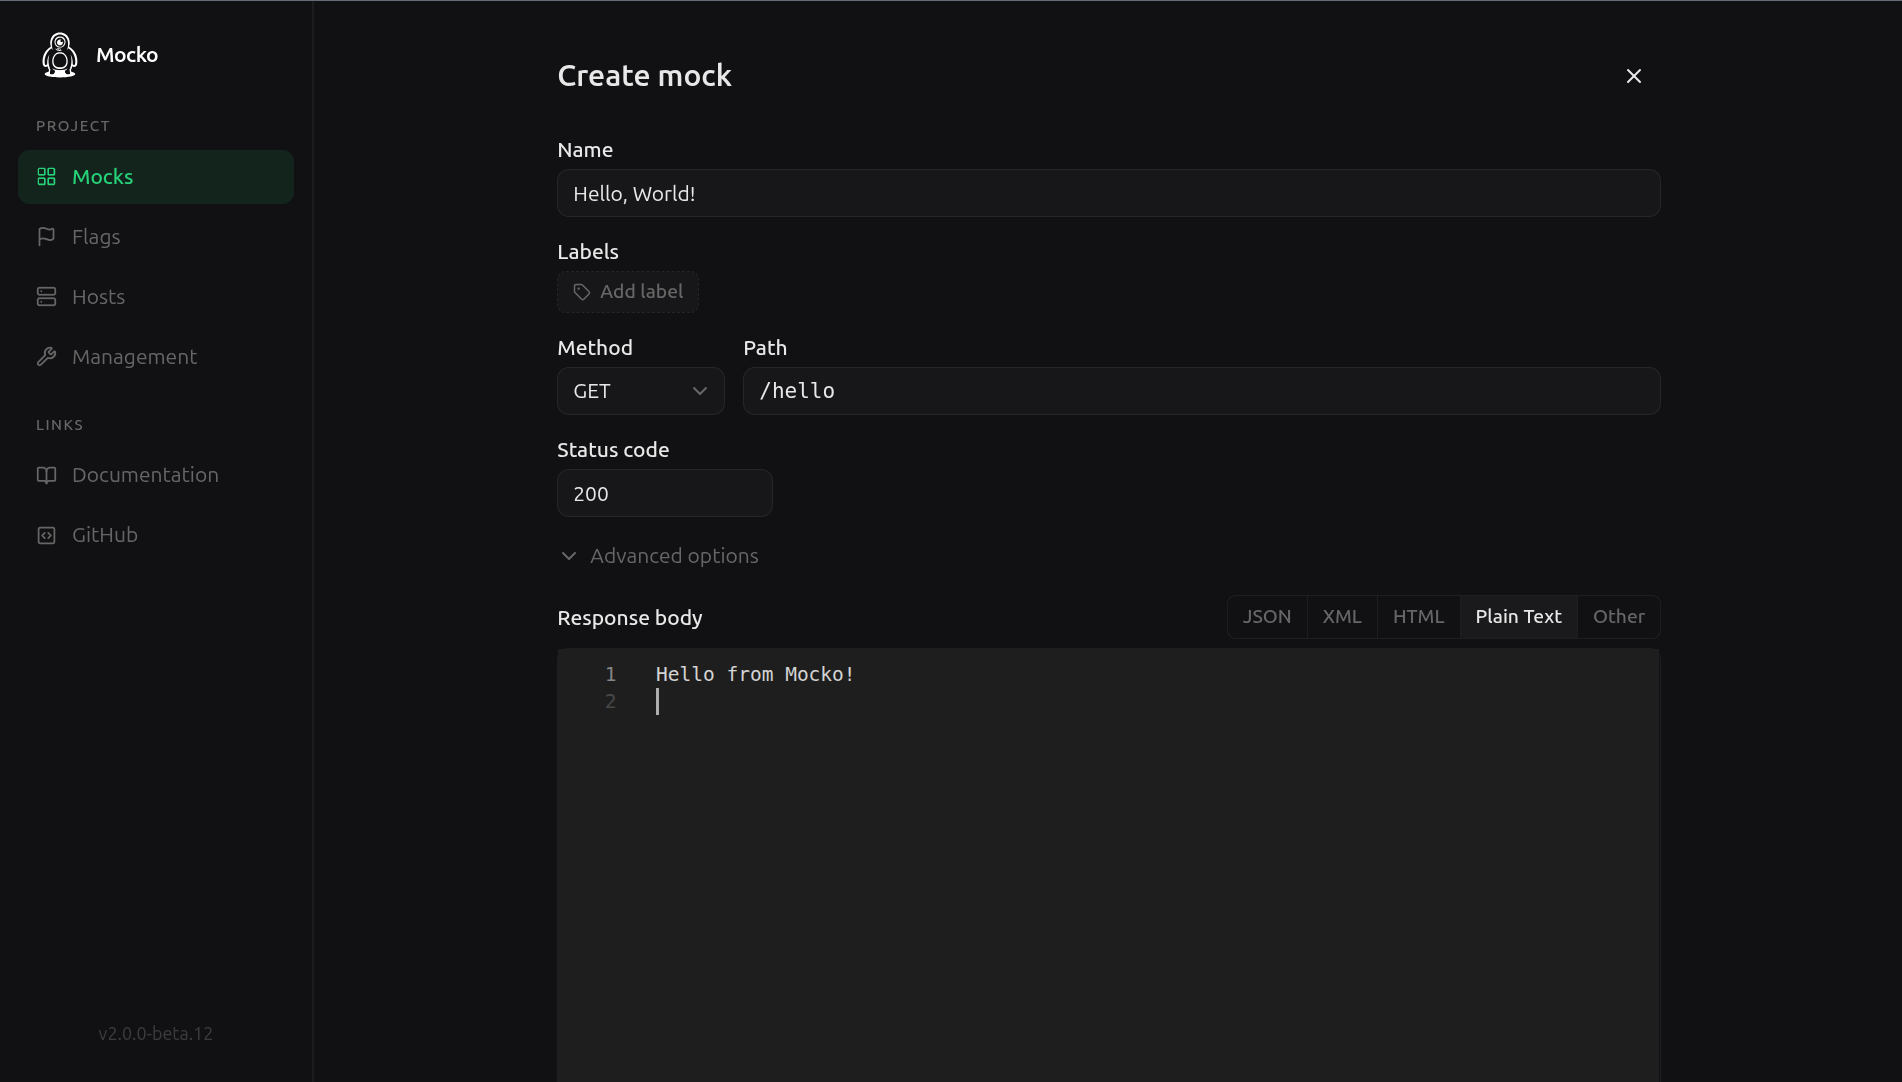
Mocko opens at http://localhost:6625. Click New mock and fill in:
- Method:
GET - Path:
/hello - Response body:
Hello from Mocko!
4. Test it
5. Move repeatable mocks to files
The UI is ideal for quick experiments. Once a mock becomes part of your development workflow, define it as a file mock so it can live with your project, run in CI, and be reviewed like any other change.
What's next?
Move to file mocks
Keep mocks with your project so they can be reviewed and versioned.
Create from the UI
Learn the control panel workflow for quick local experiments.
Use recipes
Copy patterns for state, proxying, fixtures, and failures.
Set up your coding agent
Install the Mocko skill so your agent can write and debug mocks.